
spring boot 테스트 프로젝트로 swagger를 적용해보았다.
1. gradle에 해당 springfox-swagger를 명시해준다.
swagger2, swagger-ui, swagger-annotations, swagger-models를 받아주는데
해당 정보는 mvn repository에서 확인할 수 있다.
mvnrepository.com/artifact/io.springfox/springfox-swagger2/2.9.2
mvnrepository.com/artifact/io.springfox/springfox-swagger-ui/2.9.2
mvnrepository.com/artifact/io.swagger/swagger-annotations/1.5.21
mvnrepository.com/artifact/io.swagger/swagger-models/1.5.21
gradle 설정이 완료되면
ToySwaggerConfig 파일을 하나 생성해준다.
먼저 WebMvcConfigurer를 implements 받고 addResourceHandlers를 구현해준다.
swagger-ui가 보여질 화면의 리소스 위치를 설정해주는 것이다.
다음은 swagger를 만들 Docket을 bean으로 등록하고 생성할 Docket을 만들어준다.
.apis는 api를 탐색할 위치(com.shlee.toy1,controller)
.path 경로로 시작되는 위치(controller에서 @RequestMapping("/v1")으로 시작되는 uri)
.directModelSubstitute로 날짜형식을 맞춰주고
.globalResponseMessage로 요청을 받았을때 어떻게 처리할지를 정해준다.
.additionalModels의 typeResolver.resolve(ResponseEntity.class)는 ModelRef에서 지정한.
ex) CommonError, CommonResponse, string, ResponseEntity 같은 사용자 지정 모델값을 넣어주면 된다.
필요 하지 않다면 다음과 같이 작성해도 된다.
마지막으로 .apiInfo를 통해 api정보를 지정해준다.
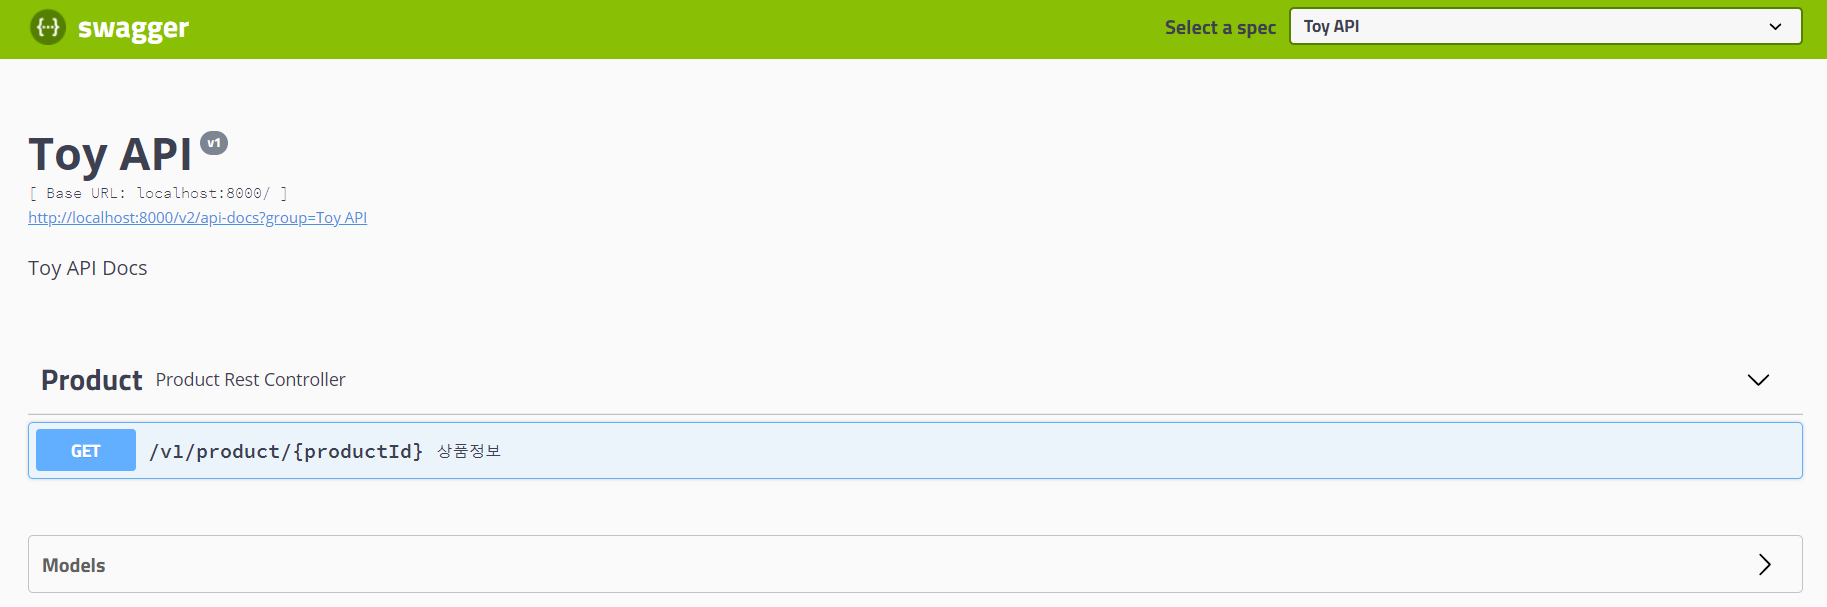
그리고 서버를 실행후 http://localhost:8080/swagger-ui.html 에 접속하면
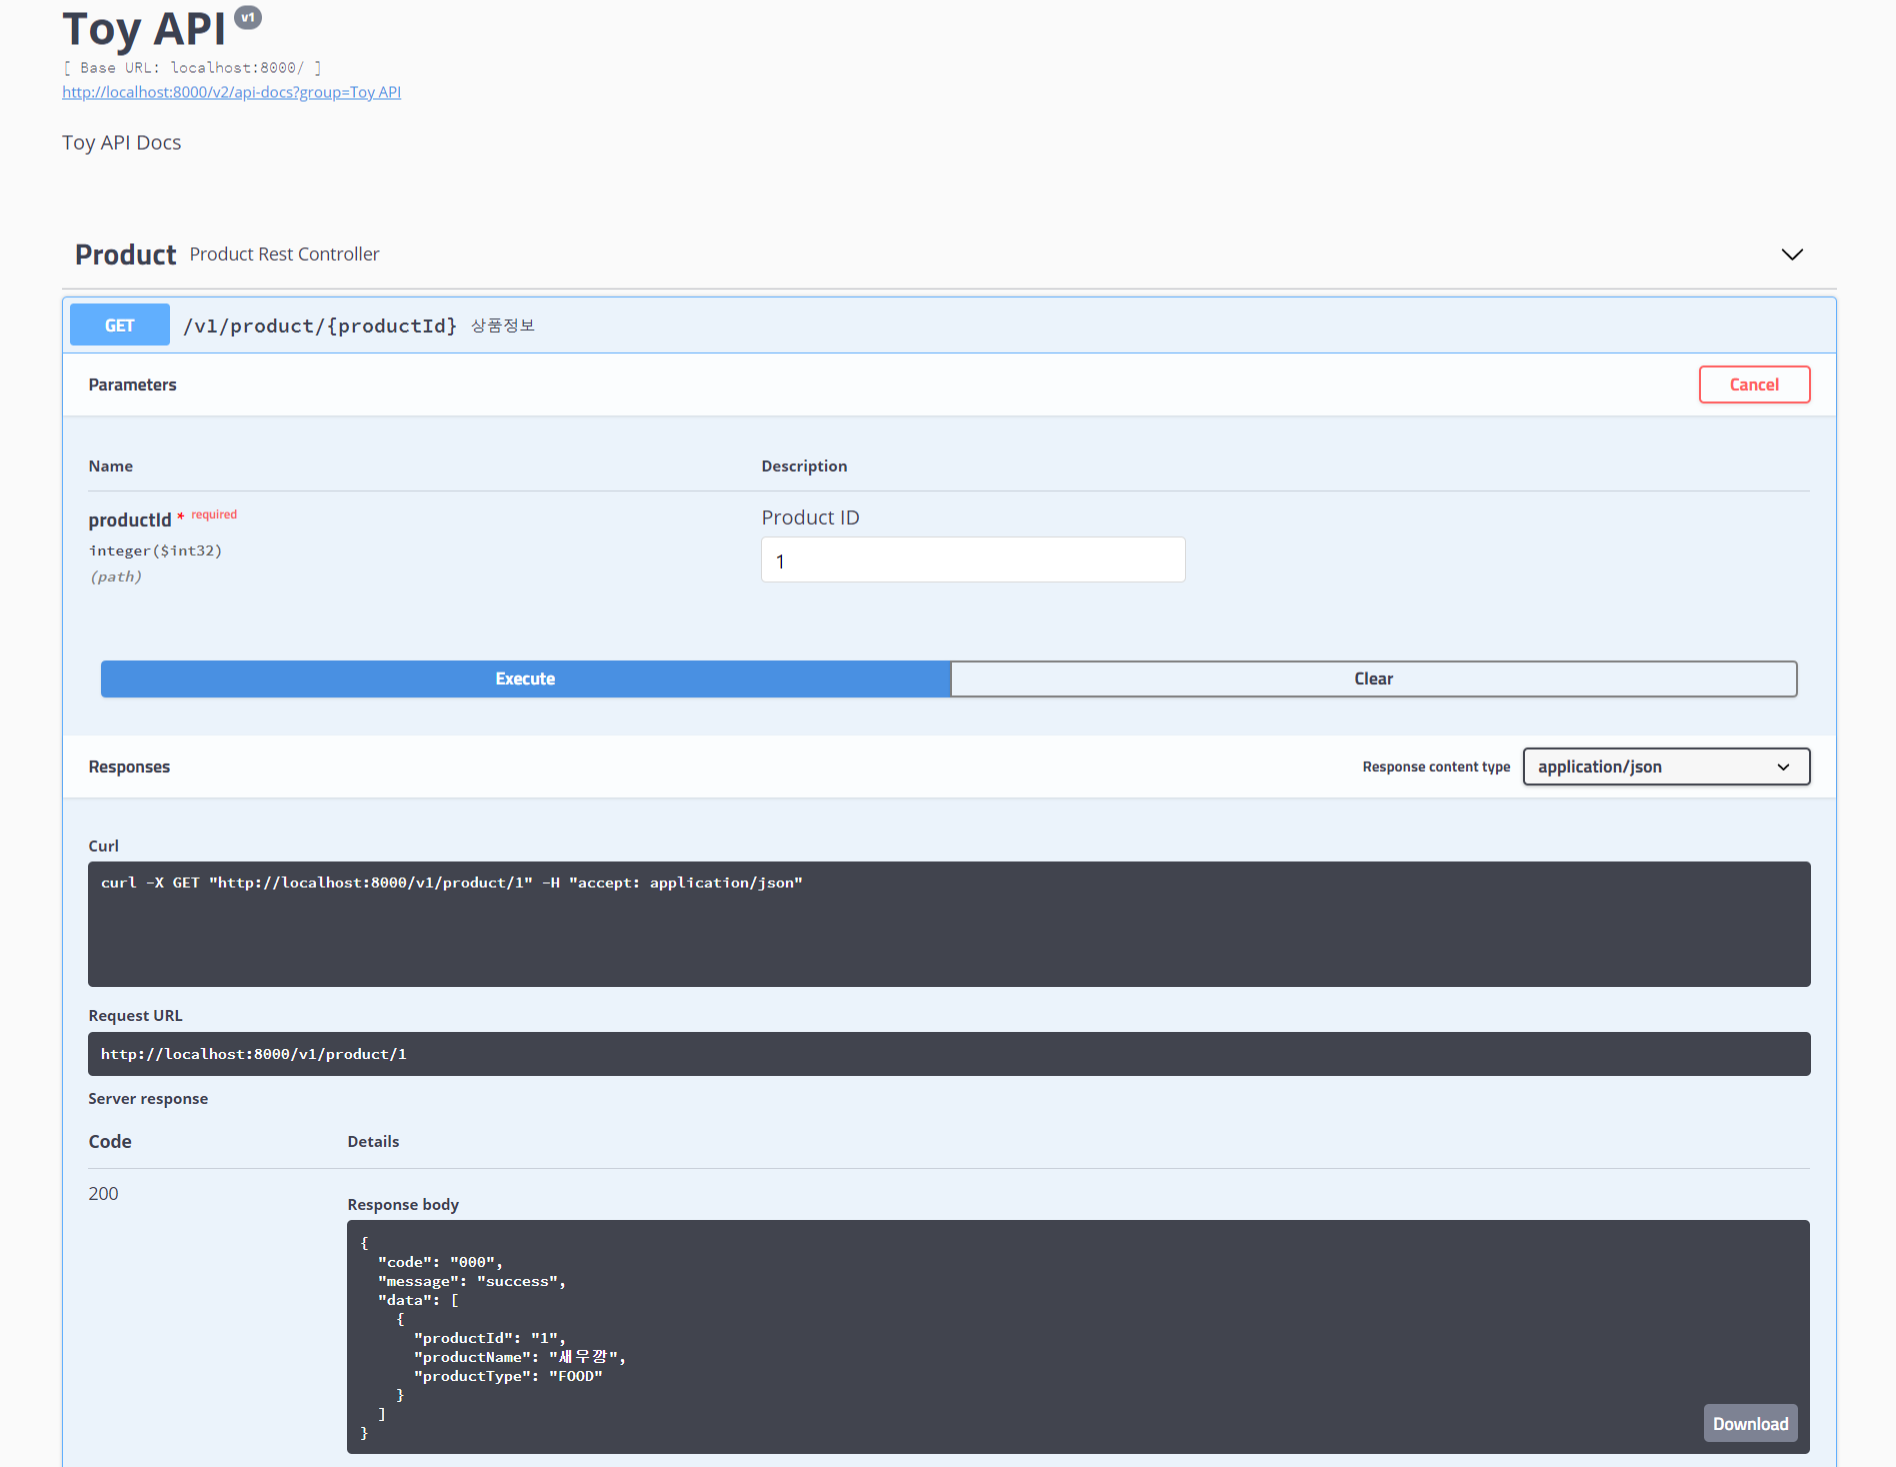
controller와 연동된 api 목록이 나타나게 된다.
test 시도 시 response데이터가 잘 오는 것을 확인 할 수 있었다.
'전체 > Spring Boot' 카테고리의 다른 글
| mybatis에서 enum type handler 사용하기 (3) | 2021.03.07 |
|---|---|
| Could not autowire. No beans of type found. error 해결 (1) | 2021.02.14 |
| Caused by: java.sql.SQLException: Access denied for user 'root'@'localhost' (using password: YES) 해결하기 (6) | 2021.02.14 |
| Spring Boot JPA CRUD테스트 프로젝트 만들기 - 6 (0) | 2019.08.09 |
| Spring Boot JPA 설정 프로젝트 만들기 - 5 (4) | 2019.07.28 |